


Overview
A saved product opens on the same form you created it with. This page covers what works differently once a product exists.
For what each field does, see Add a Product.
Opening a Product
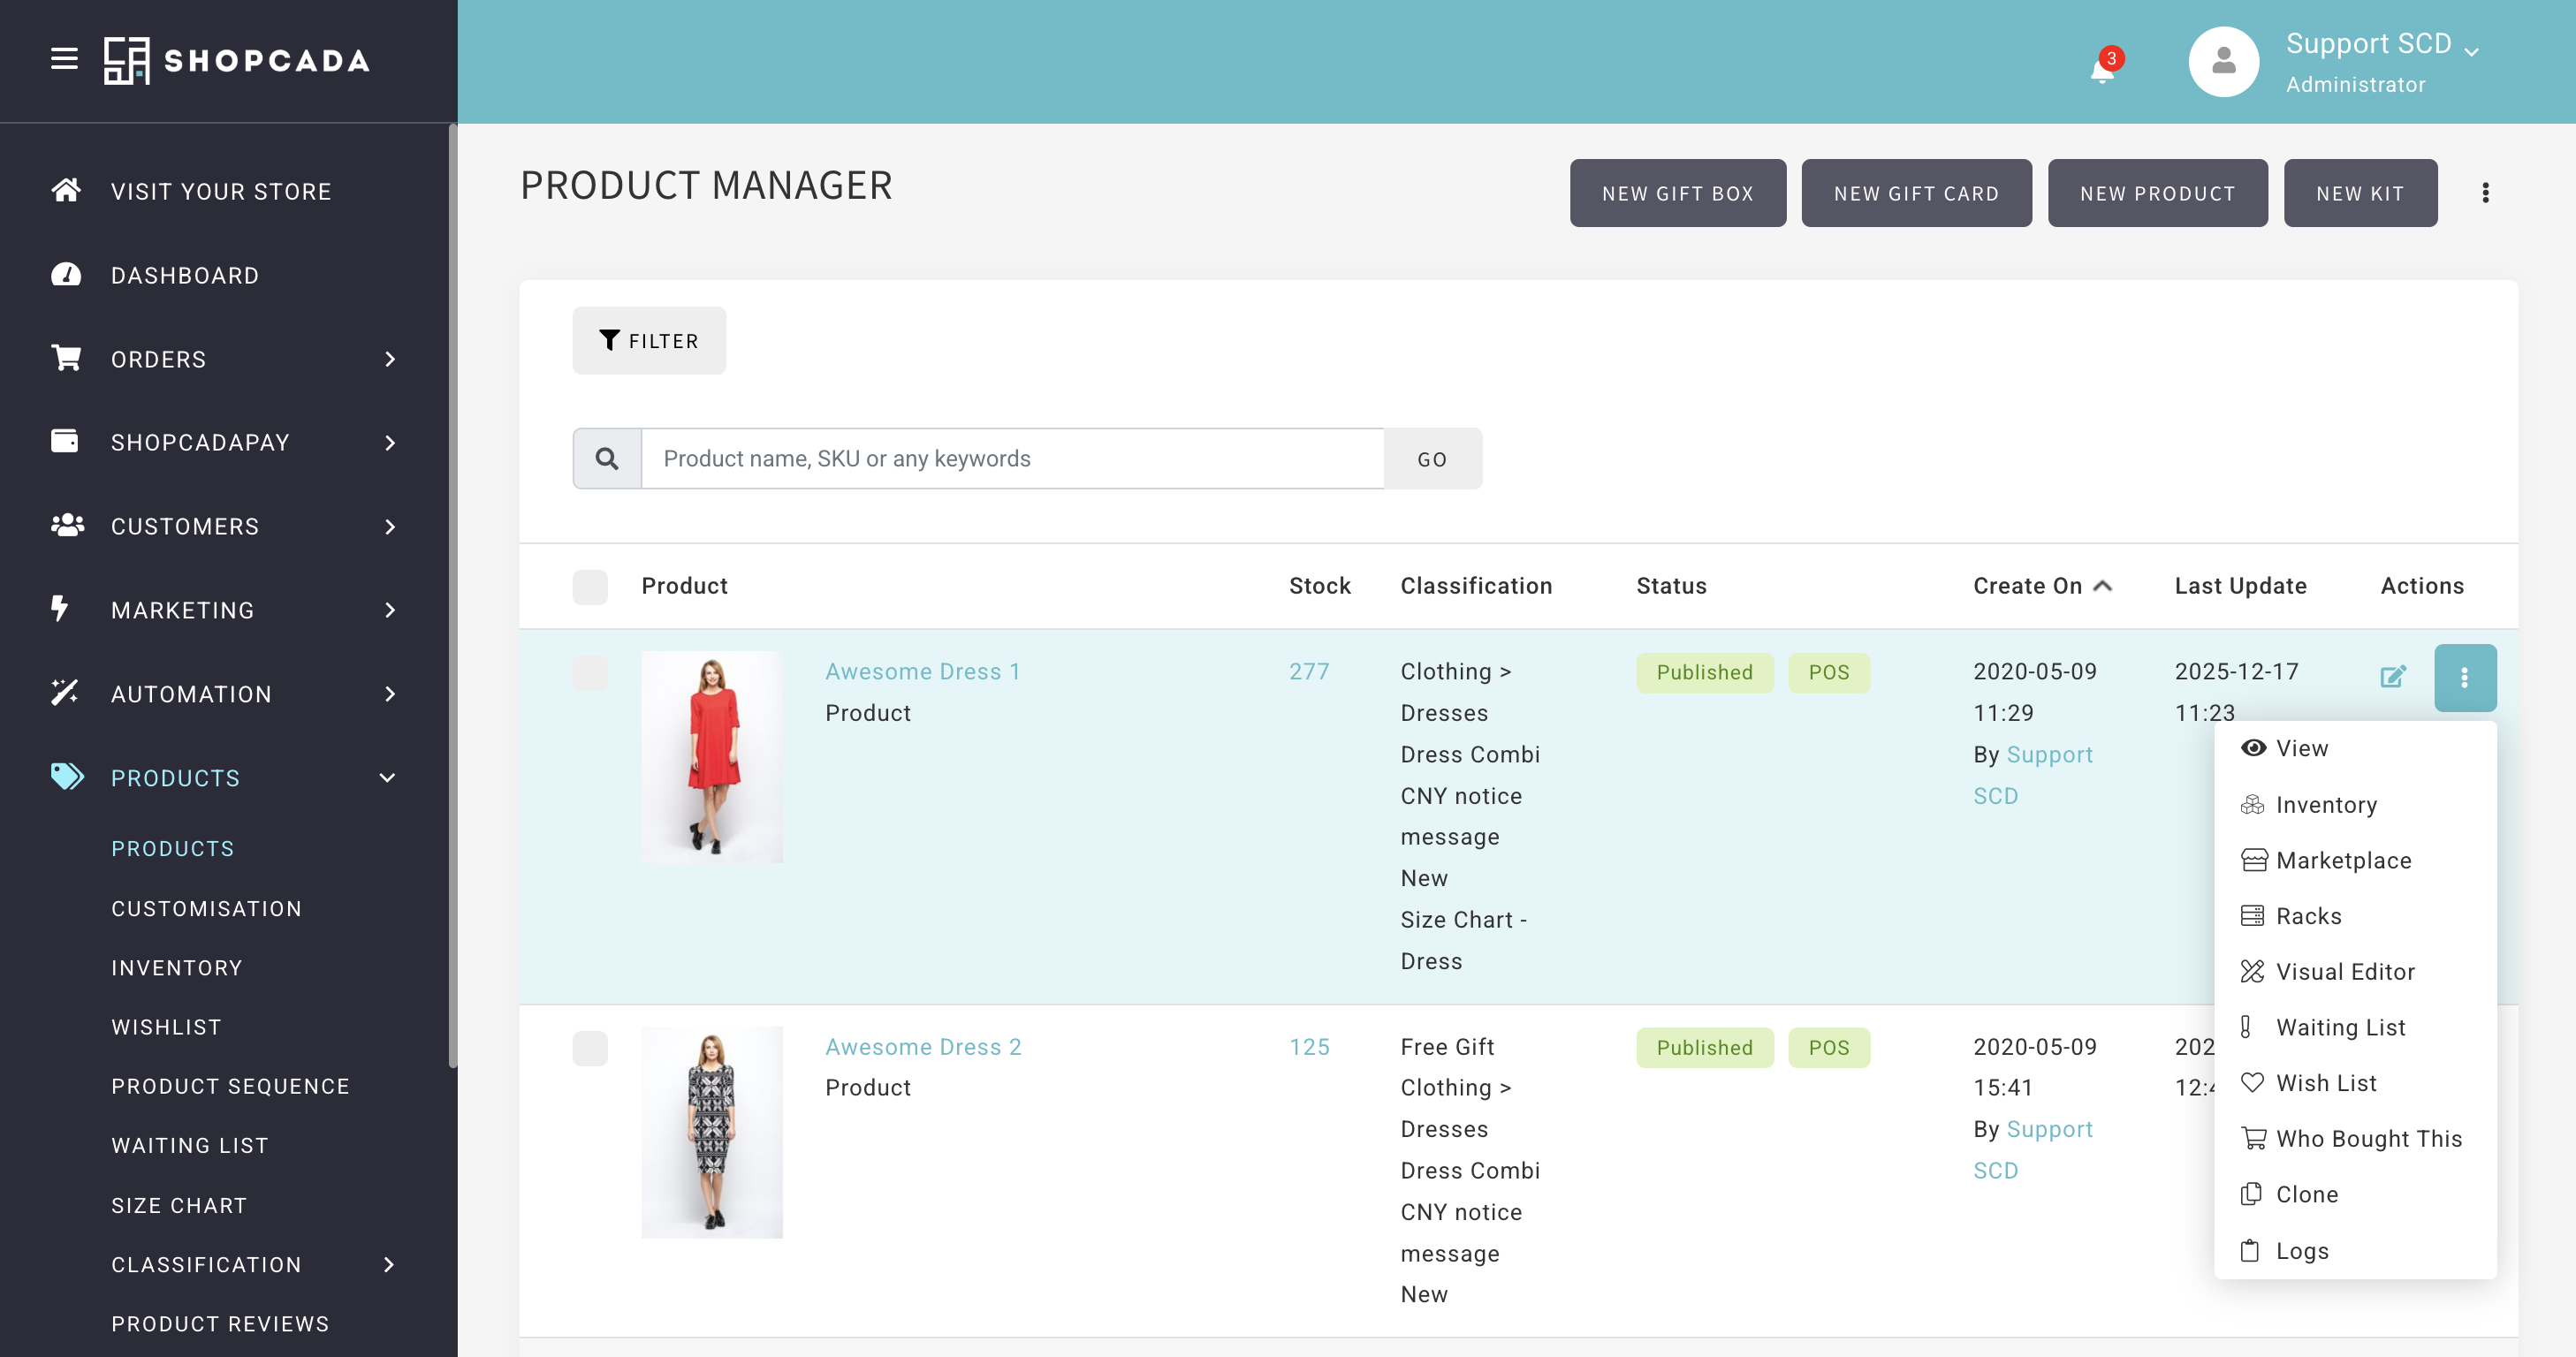
From the Product Manager
- Navigate to Dashboard > Products > Products.
- Click the pencil on the product’s row.
From Your Website
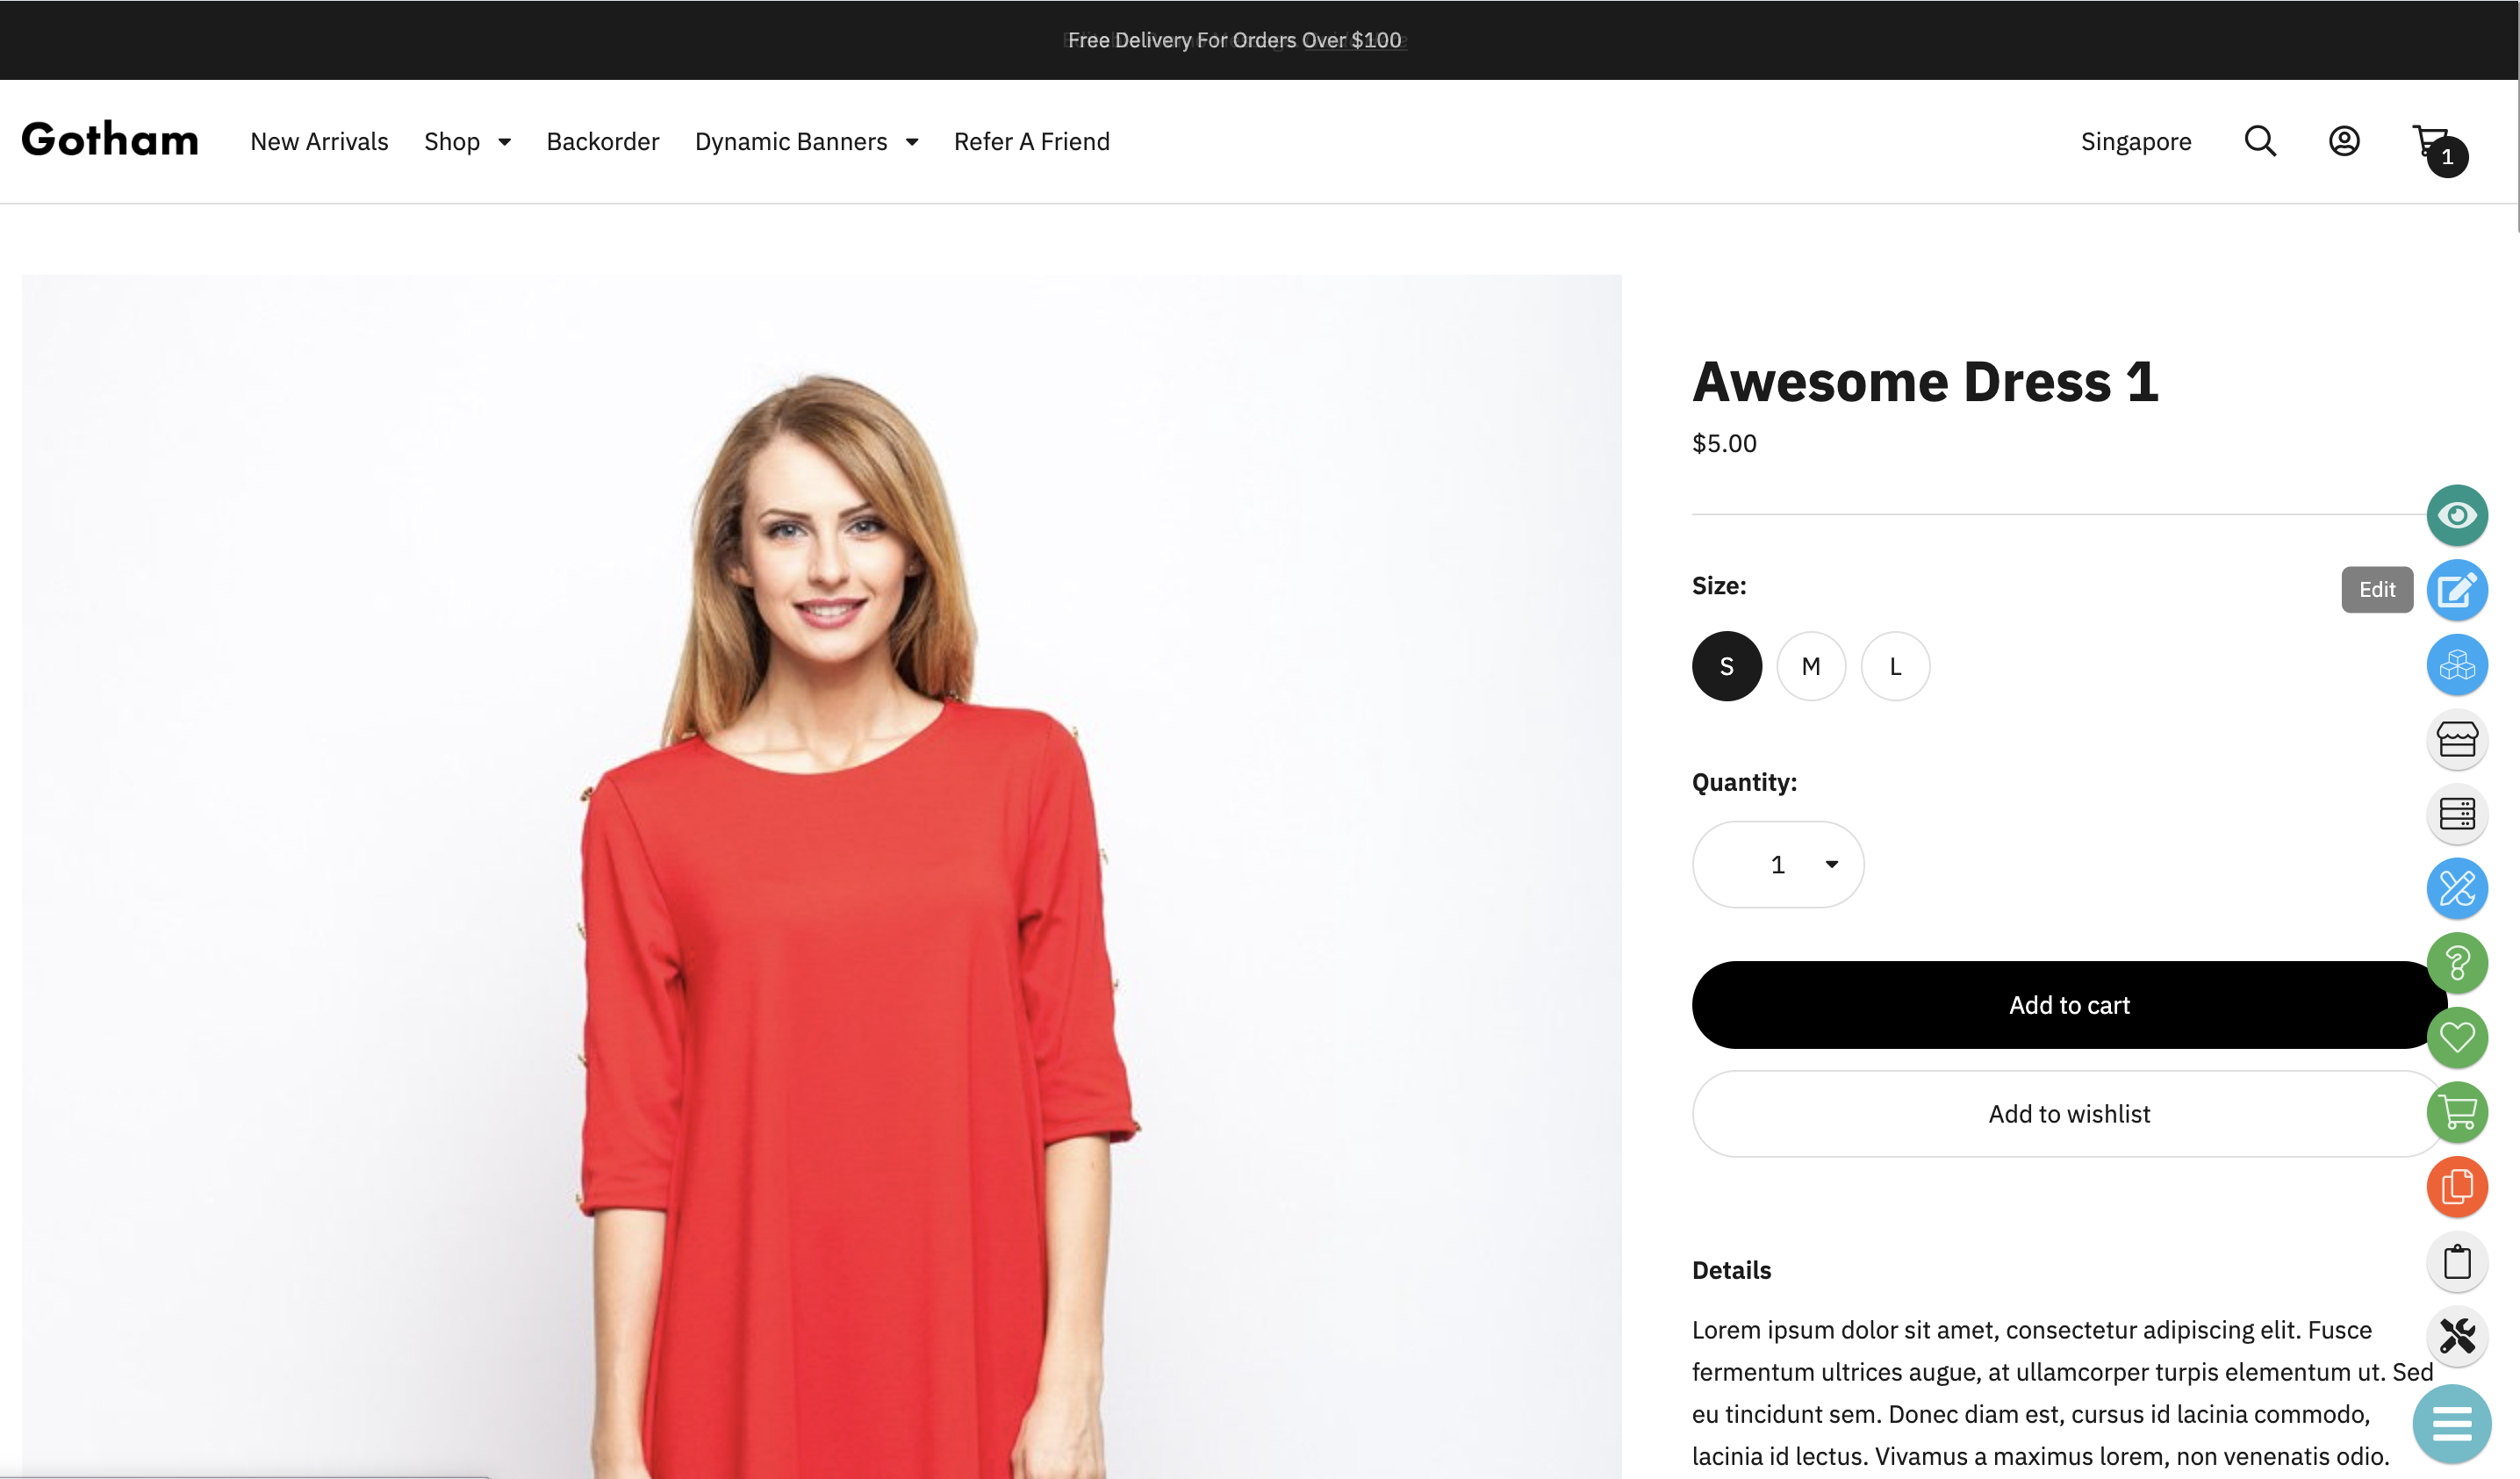
- While logged in to your admin, open the product on your website.
- Open the round menu button at the bottom right of the page.
- Click Edit.
Only staff with admin access see this menu. Shoppers never do.
The Product’s Other Pages
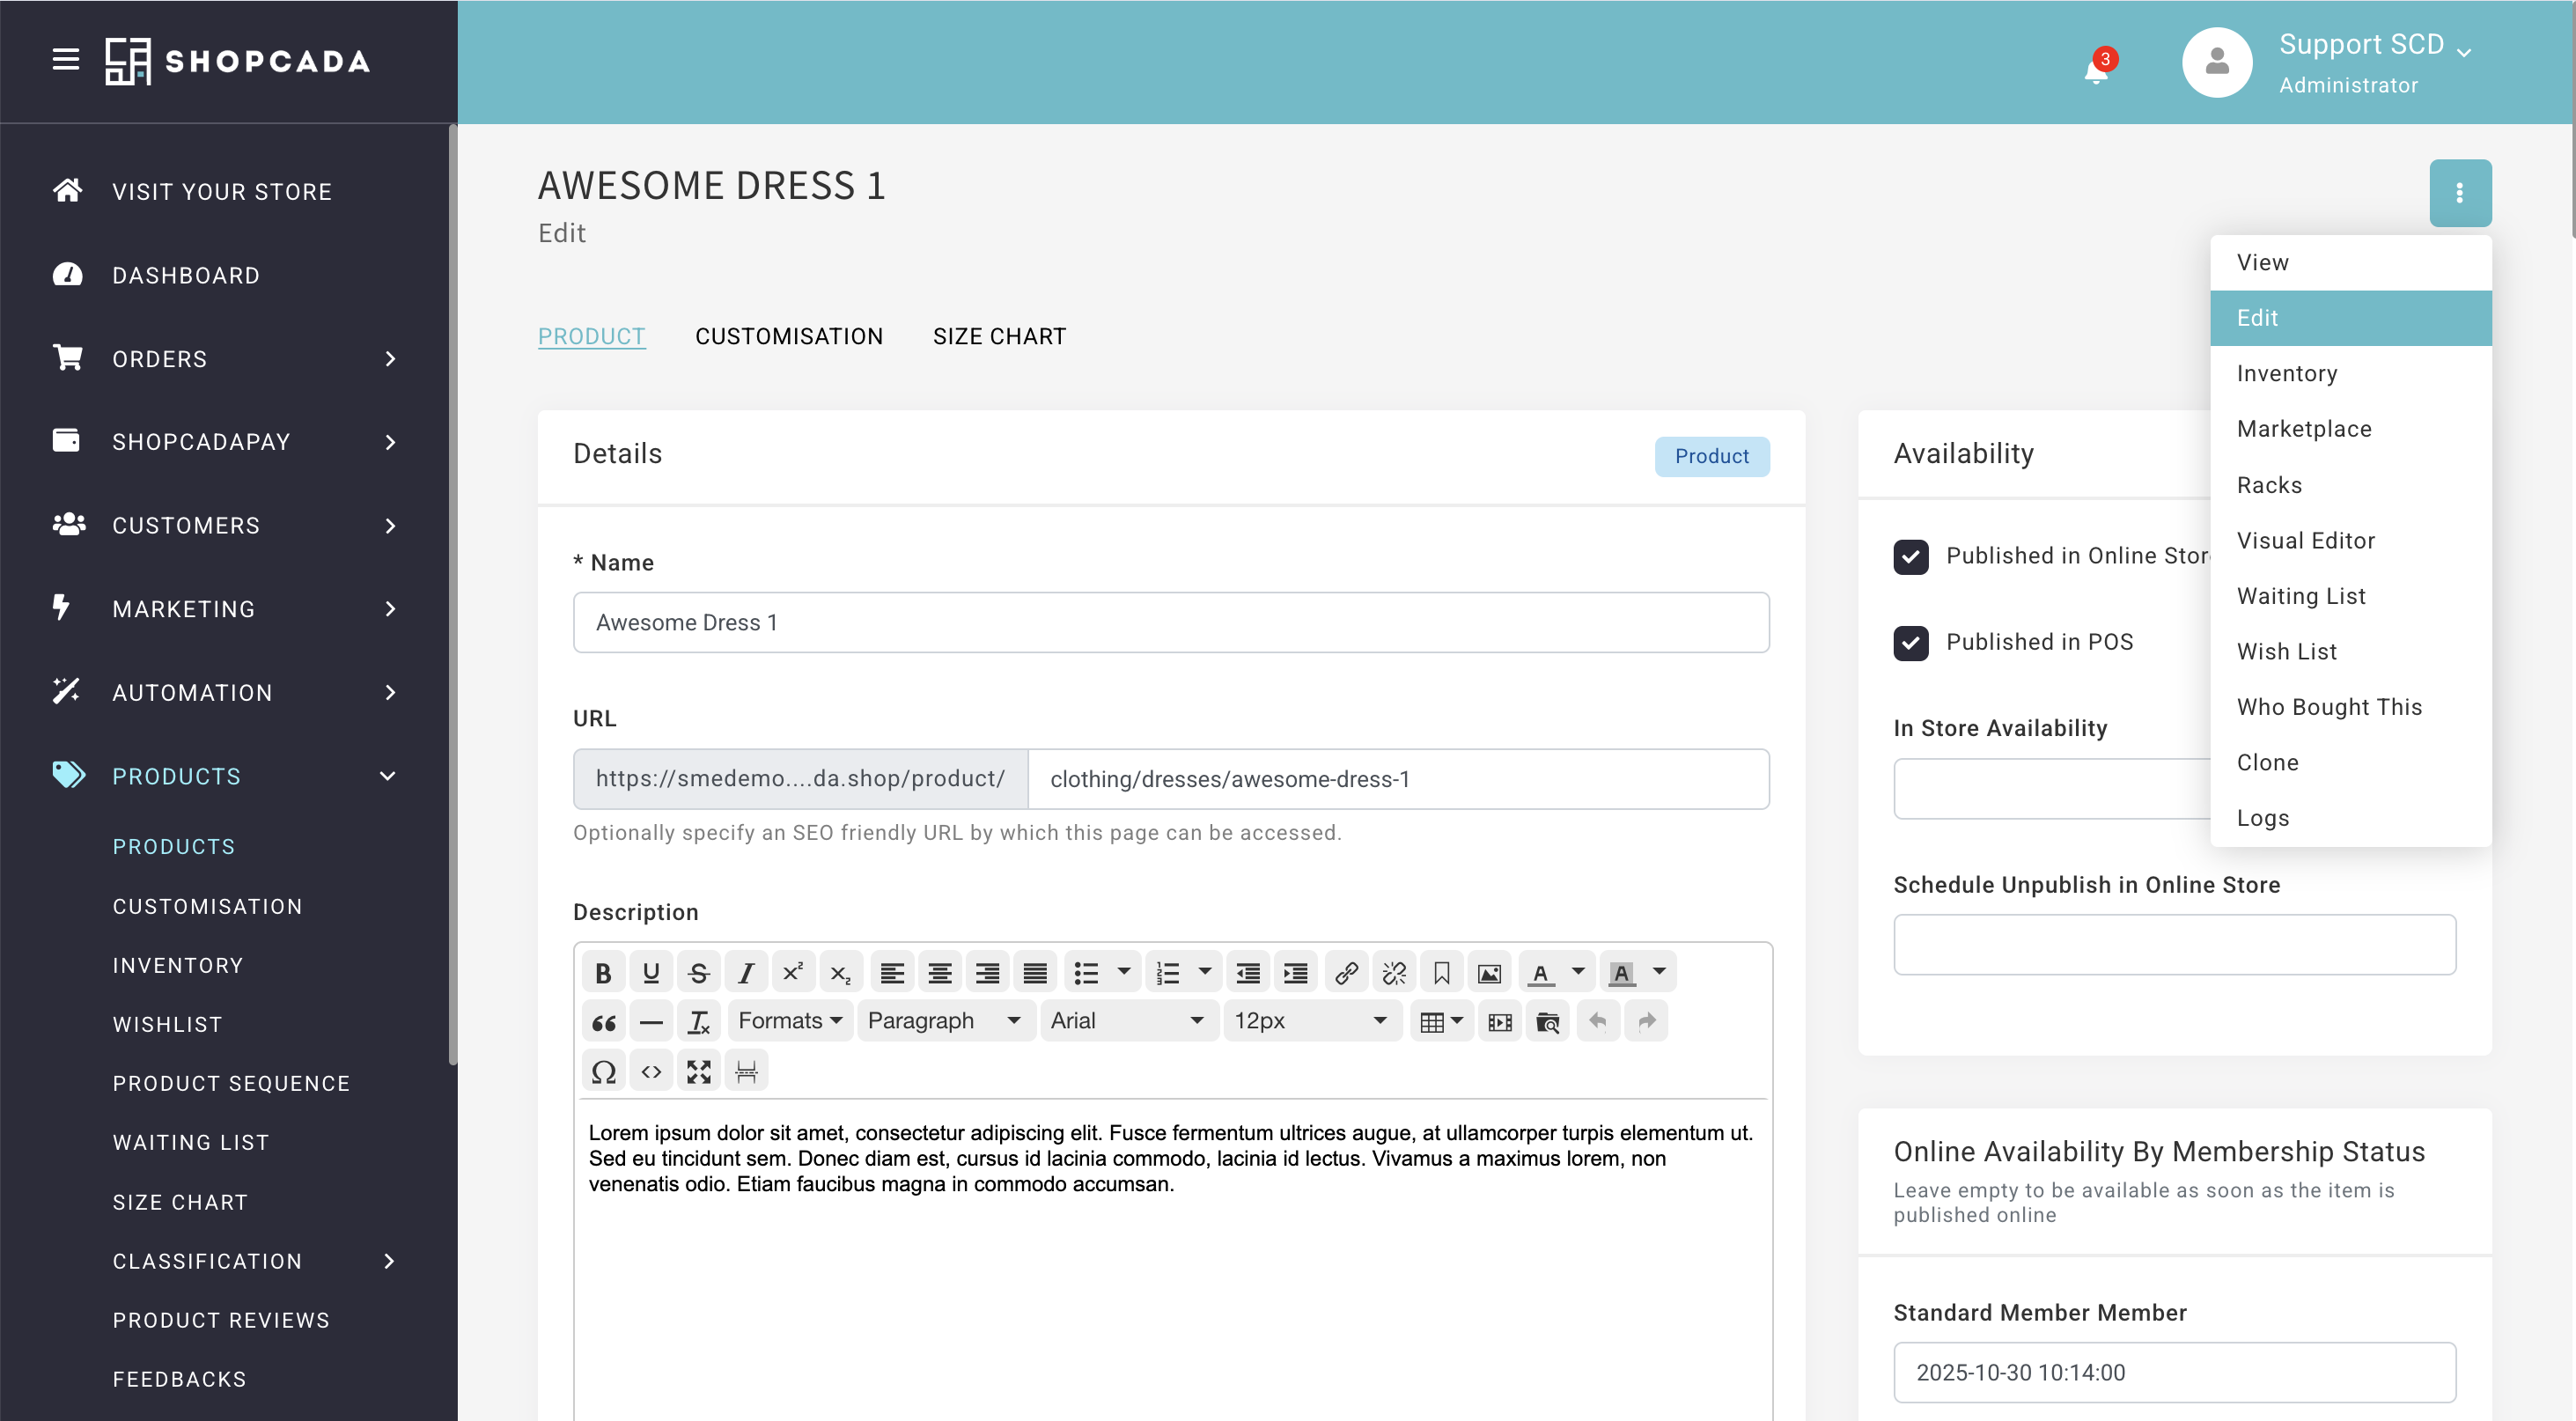
The three-dot menu at the top right of the edit page opens the product’s other pages. The admin menu on your website opens the same pages.
- View opens the product on your website.
- Clone starts a copy of the product.
- Logs lists the changes made to the product.
- Inventory, Racks, Who Bought This, Waiting List, Wish List and Marketplace appear depending on your store.
Stores that use size charts, product customisation, subscriptions or delivery options show Size Chart, Customisation, Subscription or Delivery as tabs above the form.
What Changes After the First Save
After you click Save, you stay on the product so you can carry on editing.
| Field | Once the product is saved |
|---|---|
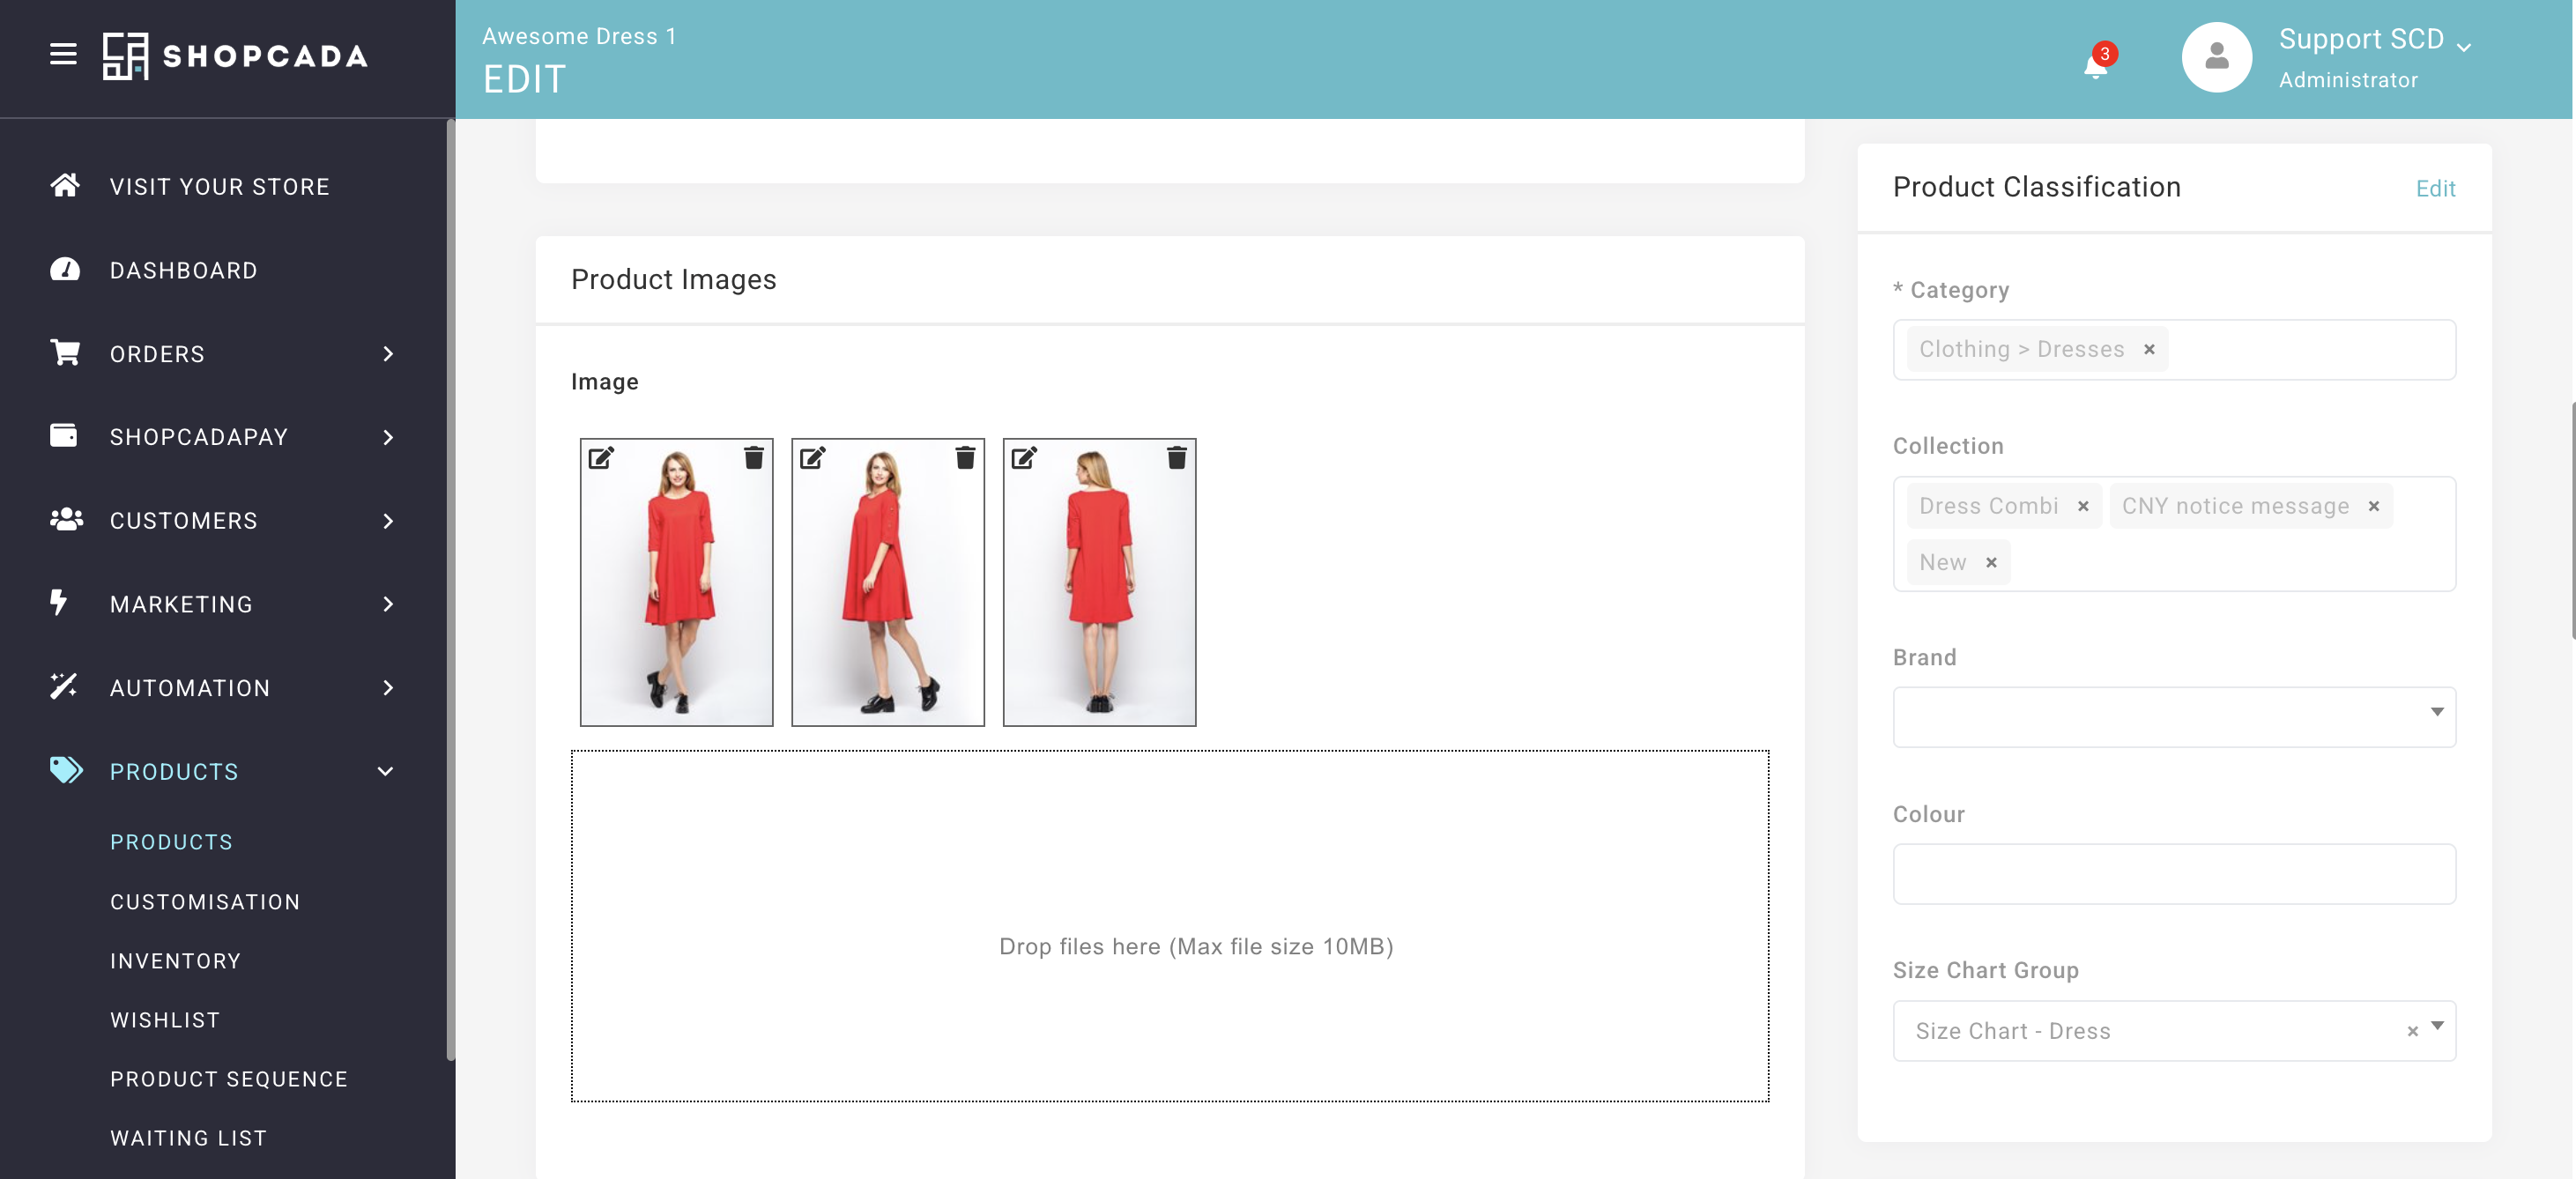
| Product Classification | Locked. Click Edit beside the section heading to change it. |
| URL | Follows the Name only while it still matches the address Shopcada made. If you typed your own, renaming the product leaves the URL as it is. A new URL replaces the old one, and links to the old address stop working. |
| Qty | Read-only. Adjust stock from the product’s Inventory page in the three-dot menu, so the Inventory Movements Report records the change. |
| Variants Summary | Shows the variants as last saved. Changes appear there after you click Save. |
Changing Variants
Unticking This product has multiple options (e.g. sizes/colours) keeps only the first variant. The rest are deleted when you save.
Ticking it on a single product replaces that product’s original variant with the ones you generate.
| To | Do this |
|---|---|
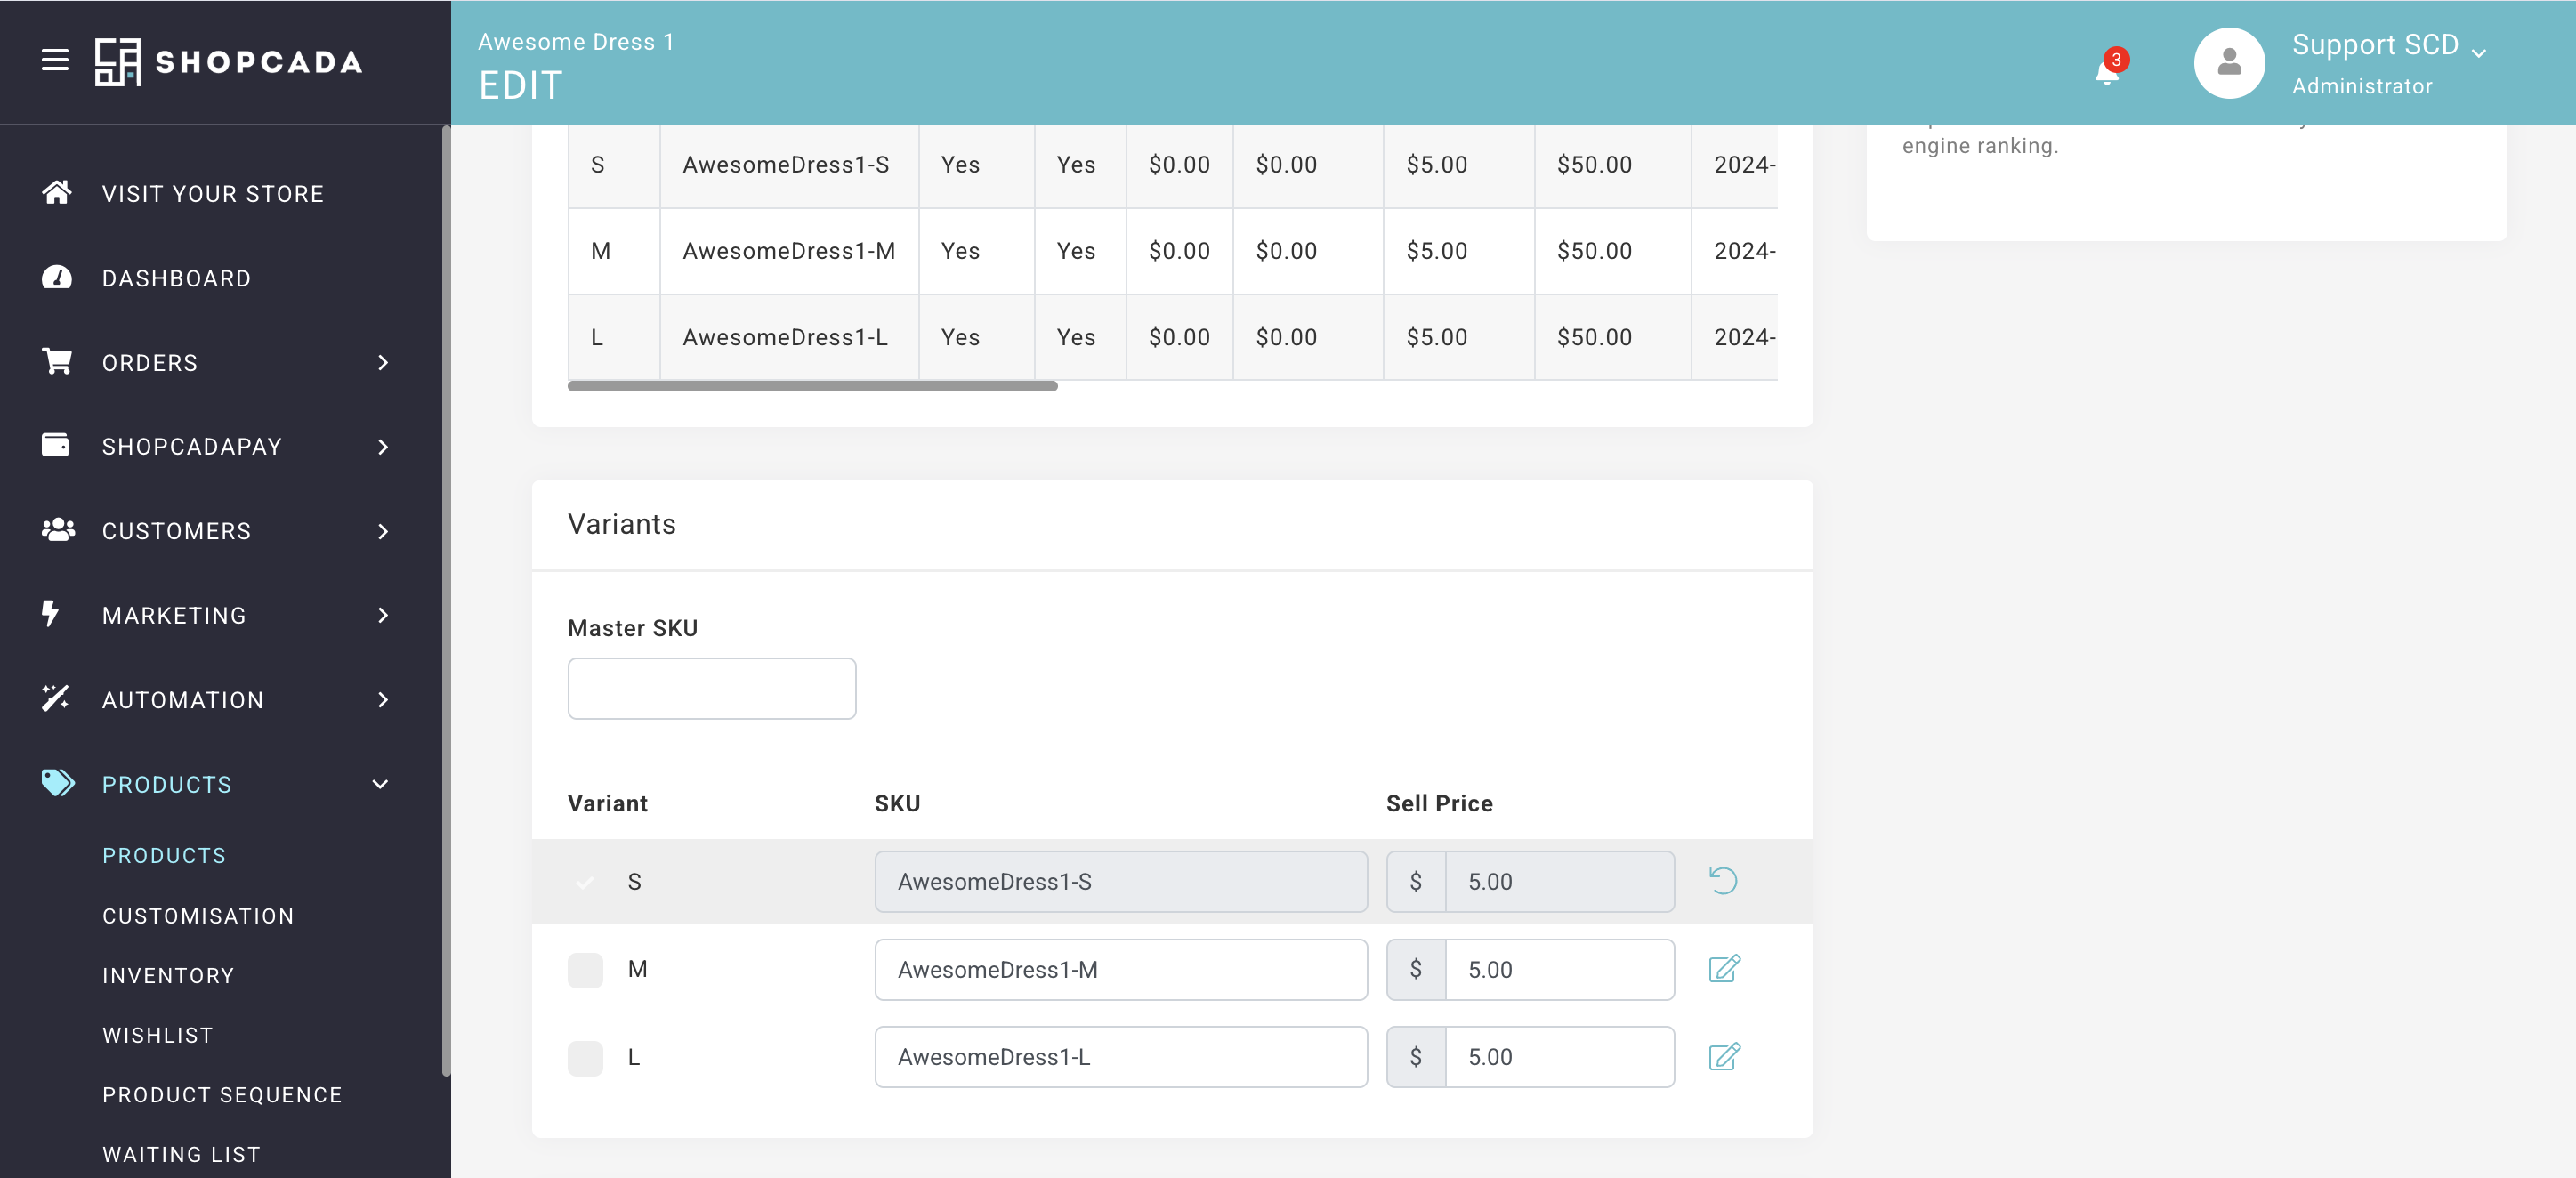
| Remove one variant | Click the variant’s edit icon. Click Delete. The row turns grey, with an undo arrow in place of the edit icon, until you click Save. Click the undo arrow to keep the variant. |
| Remove an option value | Delete the value, such as XL. Click Update Variants. On Save, Shopcada deletes the variants for that value and their inventory movements. Past orders keep the original SKU and option. |
| Add an option value | Add the value. Click Update Variants. Existing variants keep what you filled in. |
Cloning a Product
- Open the product’s three-dot menu, on the edit page or in the Product Manager.
- Click Clone.
Shopcada opens a new product form filled in from the original.
The copy is named after the original with a number added. It starts unpublished and gets a fresh URL.
Nothing is created until you click Save.
Change every SKU before you click Save.
The copy keeps the original SKUs. SKUs must be unique, so the copy will not save until you change them.
Deleting a Product
- Click Delete on the edit page.
- Click Confirm.
Deleting cannot be undone.
To take a product off sale and keep its record, untick Published in Online Store instead.
